Every professional which is working on business solution projects is faced with the responsibility to provide clear and understandable documentation. Having only text in your manuals is boring. Probably you will lose your readers in several minutes. To prevent that, you should include visualizations which gives much better representation of your thoughts and knowledge which you would like to distribute to others. Users understand the content of your documents much better when you provide visual representation of the written text.
Making screenshots of what you are doing is usually done either by just hitting the “Print Screen” and paste it to picture editor like Paint or you could do it with another well known windows standard software – snipping tool:

While it is much better than the “print screen & paint” way, snipping tool has a lot of limitations like – you are not able:
- map a custom short-cut combination,
- save it directly to the file
- small capabilities for highlighting/annotations
- etc.
With this post I am going to present you my favorite tool for such tasks which I heard about it from my work in current employer. Greeshot is the best tool for capturing screenshots.
With it you could do:
- Mapping shortcut key for Capturing region
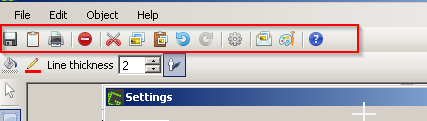
- Editing the captured screenshots with wide variety of functions
- Directly saving the captured screenshot into file
- Editing an image from clipboard
- And many other useful functions
You could find it here. Unfortunately it is available only for Winndows.
After successful download and install you will see a new icon on the system tray.
![]()
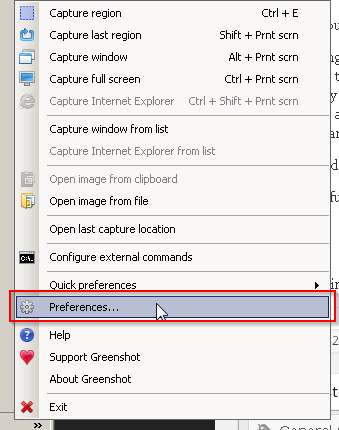
One of first things that you should do is to map a shortcut key combination for capturing region. Right-click on the icon and choose the “Preferences”.
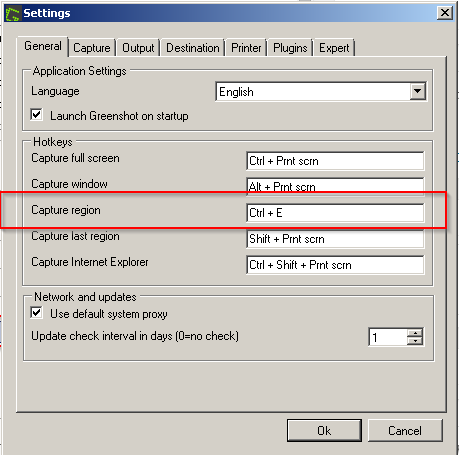
For me the combination for capturing region “Ctrl + E” is working very well, but it’s up to you to configure it as you like.
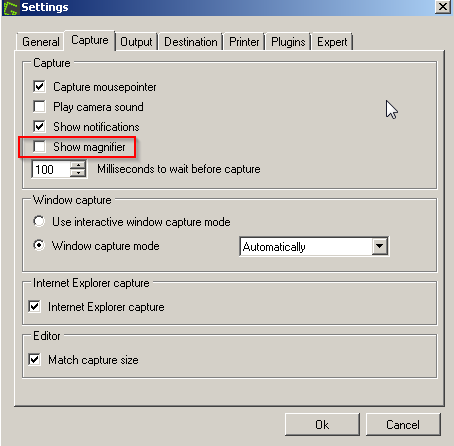
You could also uncheck the flag for “Show magnifier” unless you need to capture areas of the screen with precision to a pixel. The rest of the options are matching my needs.
When you close the preferences of the software, you could immediately use the mapped key on all the windows that you have. Just hit the the shortcut keys (Ctrl + E in my case) for capturing region you will get immediately following cross:
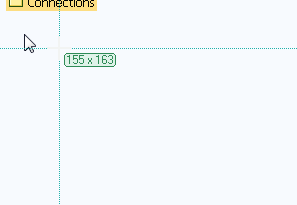
When you hit the left button of the mouse, drag the cross to the opposite corner of desired area and release the button you will see following options for further processing:
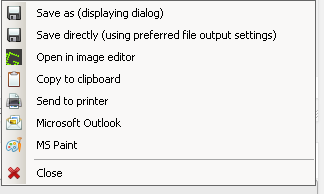
I think that those options are pretty straight forward. In most cases I am using copy to clipboard option or “Open in image editor” where I am able to highlight/make annotation to the captured screen. After quick anotation you could again copy it to the clipboard or save it the file.
I am sure that if you use the standard functionalities of the Windows for making screenshots you will be surprised by how easily you could perform similar activities with the Greenshot tool. Check it out and you will not regret!


Hi Emiliyan,
I used both Snagit and Snipping Tool. i feel Snagit is better.
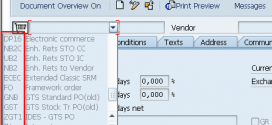
When use Snipping to snap any button in SAP GUI (Example: Execute,…) . It do not trim to snap button and we have to do manually.
However, with Snagit, everything is automation.
I think it useful for consultant when write a guide document step by step.
🙂